Today I’m sharing how to create a brick garden path in 5 easy steps.
I love the charm of brick in a garden, especially when the brick is weathered. It adds the perfect character to all types of gardens, both formal and informal.
And the process of building a brick garden path is fairly simple. Let me show you how we created a brick path in five easy steps.
But first, let me share a story about the first brick garden path in Bill’s vegetable garden. It was a surprise!
Posts on pennypennington.com may contain affiliate links. Click HERE for full disclosure.
Our Surprise Brick Path
When we bought our home in 2010, Bill and I were lucky enough to find a huge pile of bricks on our property. The brick was left over from the original build of our home and was perfectly weathered from sitting outside for over 25 years.
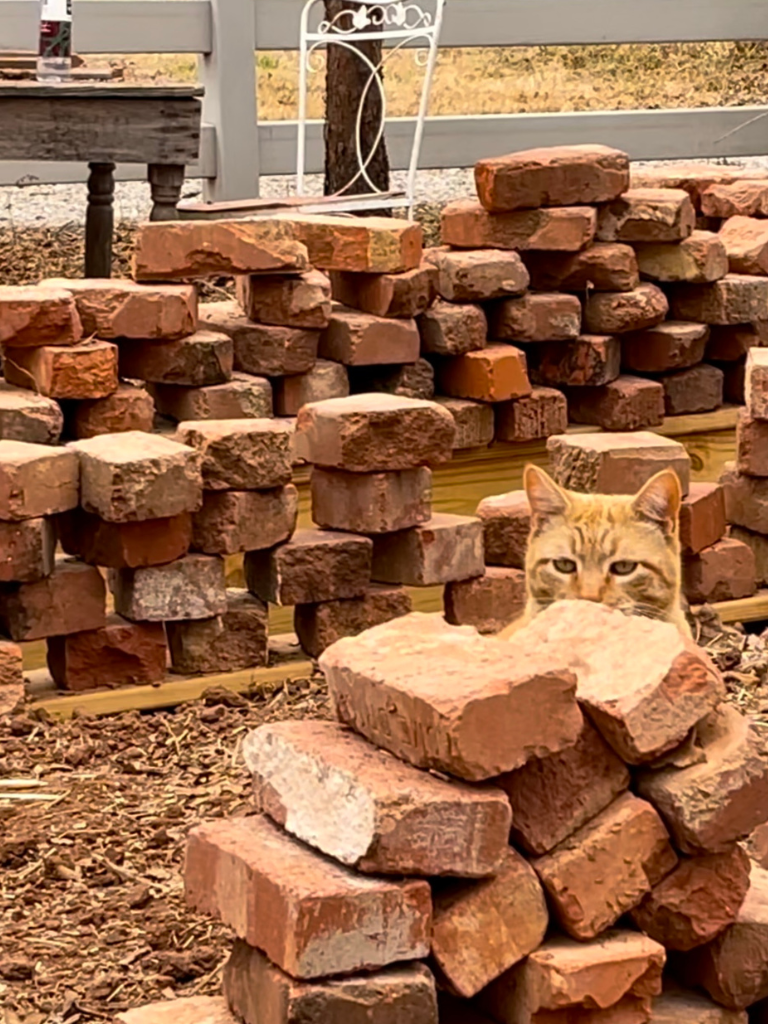
We knew we wanted to use the brick in our gardens. But before we decided how we would use the brick, much less actually used the brick, someone else beat us to the punch. Two elementary school aged sisters to be exact.
At the time, Bill and I were fostering two sisters. The pair were two of the 7 different school-age girls we fostered over the course of 5 years after our three children graduated from high school.
We had recently taken the girls on an outing to our Oklahoma State University’s Botanic Garden. They had the best time and loved all of the different plants and paths at the garden.
Together they decided (without telling us) that our garden needed paths just like the botanic garden. It was then that we discovered the two creating a brick path in Bill’s vegetable garden.
They had surprised us with our first brick garden path.
Adding Additional Brick Garden Paths
Since then, Bill and I have used the old brick to create pathways in Bill’s vegetable garden, as well as my cut flower garden.
We have also fine-tuned the steps and supplies needed to create brick garden paths that are a bit more stable than the path originally created by the girls. However, the girls will forever be in our thoughts each time we work on a brick project or walk across the original brick path.
A Before and After
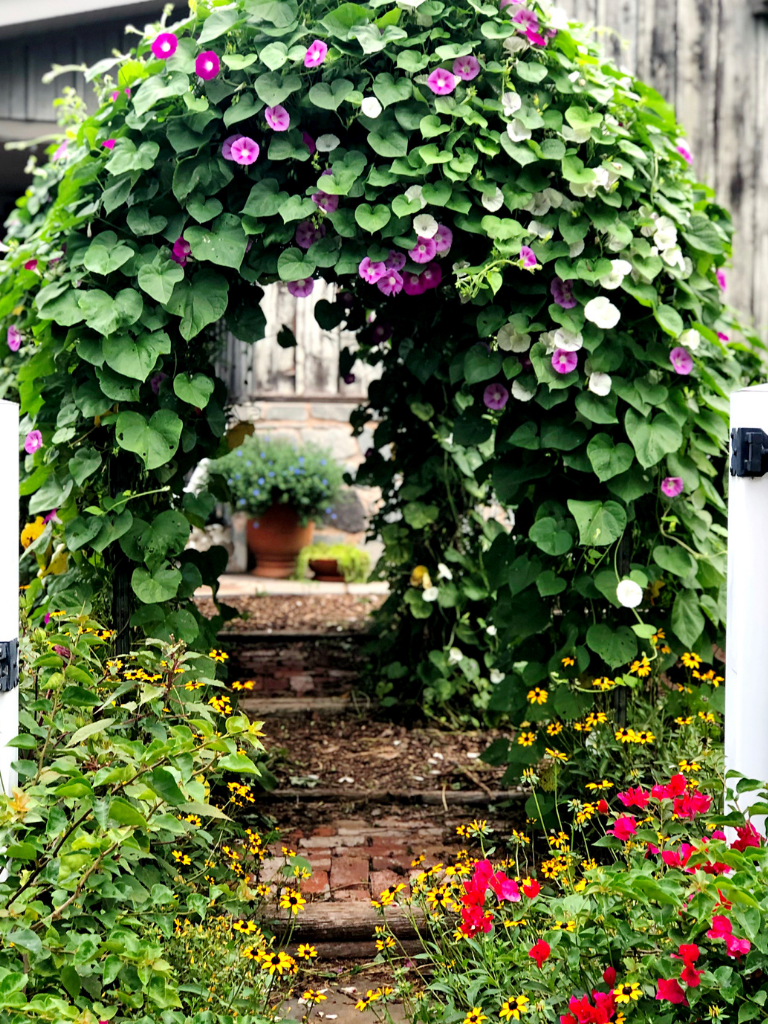
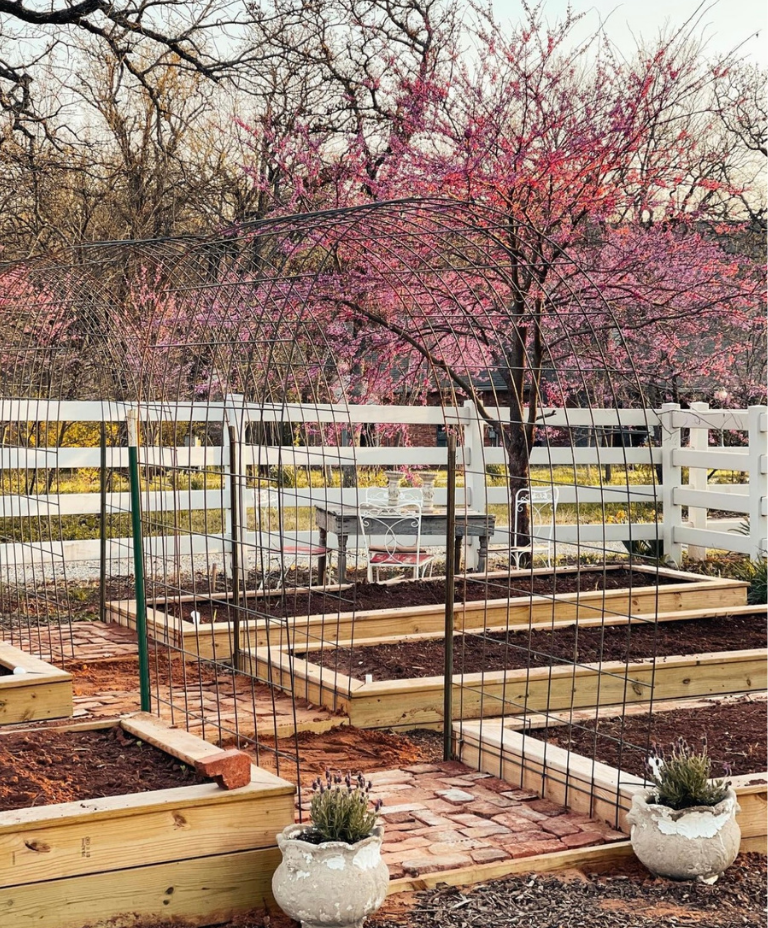
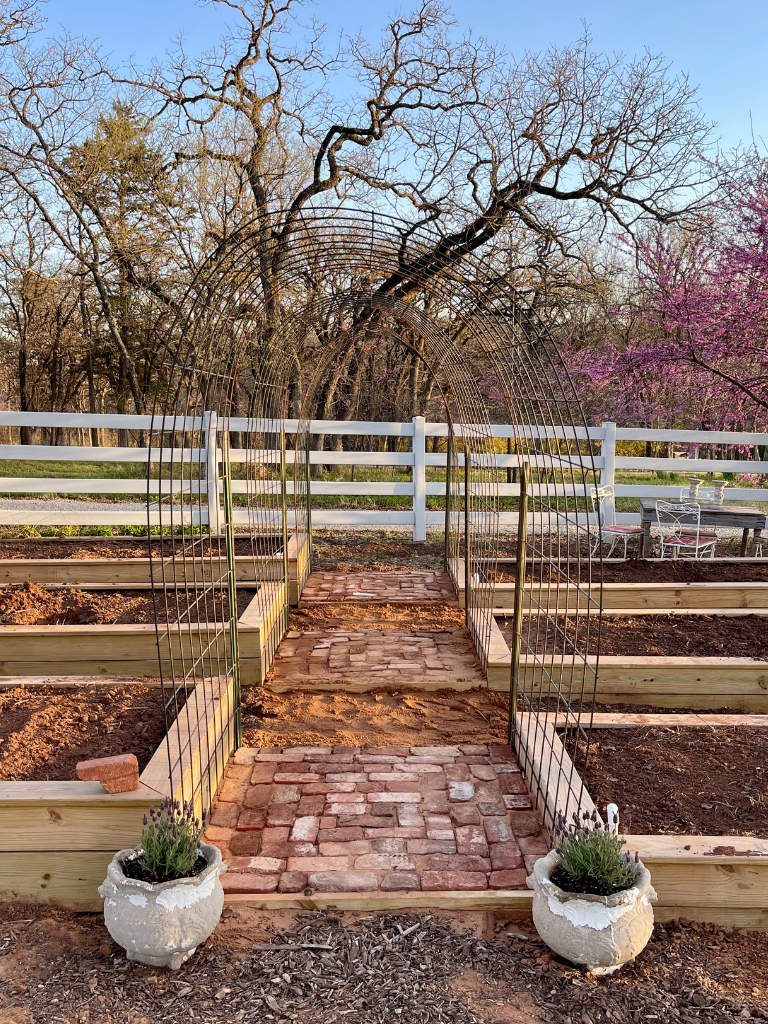
Pictured below is my cut flower garden before and after adding a brick garden path.
Before Adding Brick
We built my cut flower garden from scratch starting with six, 4×12 foot, raised beds. Next, we built three trellises (learn how to create our trellises here) using galvanized hog panels.

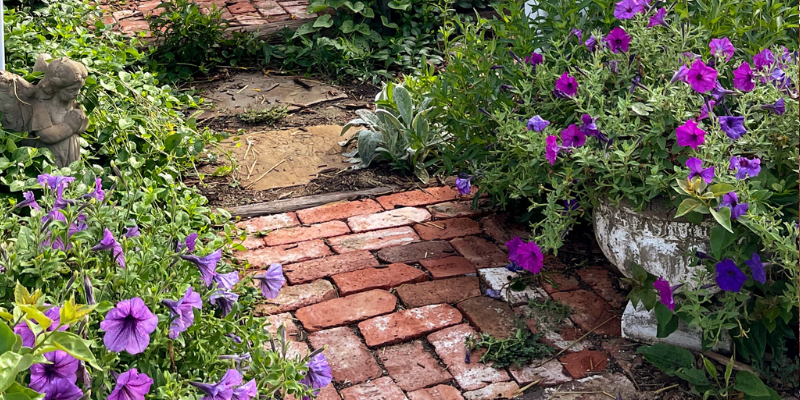
After Adding Brick
And finally, we laid the brick between each of the trellises. I love how the brick looks under the trellises. It adds great color and breaks up the mulch.
How to Create a Brick Garden Path
Step by Step Instructions
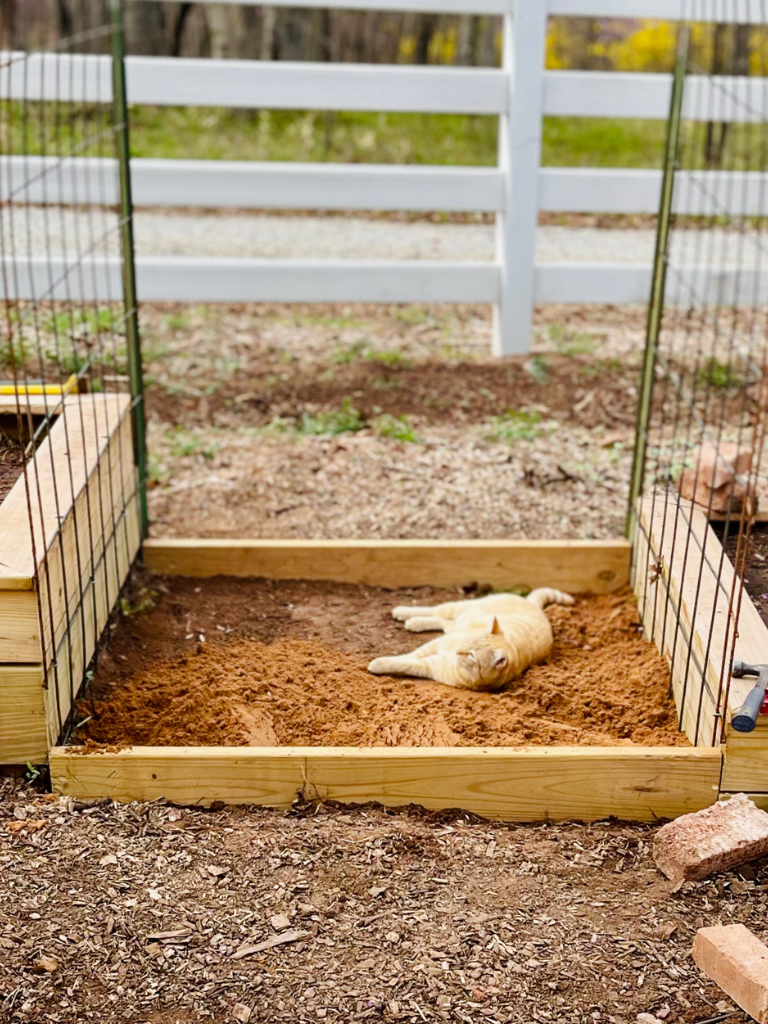
- Create a 4-sided frame to hold the bricks in place. We were able to add a frame using 2x4s supported between the raised beds. The 2x4s were nailed into the raised beds creating a sturdy frame.
- Add sand inside your frame to create a level surface to place the bricks. Stamp down the sand. And level out the sand so that the bricks sit a bit higher than your frame. Keep in mind that the sand will settle allowing the bricks to lower flush with the frame.
- Add bricks in your preferred pattern. As you’re creating the pattern, use a brick chisel and hammer to cut bricks as needed.
- After the bricks have been placed, fill in all of the cracks and crevices with additional sand. Sweep the sand into the cracks and crevices using a push broom.
- Water the sand in and repeat step 4 adding additional sand as needed until the sand is level with the top of the bricks. The sand is used to create a solid surface holding the bricks together.


Materials Needed
To create a brick garden path, you need a few materials and tools.
We used the following materials for the project: old bricks and sand, plus 2×4’s and nails for creating the frame. The quantity of the materials need depends on the size of the path you plan to create.
We also used a few basic tools including a circular saw to cut the 2×4’s plus a level and hammer for framing. A hammer and chisel to break the bricks as needed. And a broom to push the sand into the crevices of the new brick path. Plus, a water hose to water the sand down during the final step of the project.
Printable Instructions
How to Create a Brick Garden Path in 5 Easy Steps

Materials
- We used the following materials for the project (the quantity of the materials need depends on the size of the path you plan to create):
- Old bricks and sand
- Plus 2x4's and nails for creating the frame
Tools
- We also used a few basic tools including:
- A circular saw to cut the 2x4's and a level and hammer for framing
- A hammer and chisel to break the bricks as needed
- And a push broom to sweep the sand into the crevices of the new brick path
- Plus, a water hose to water the sand down during the final step of the project
Instructions
- Step 1. Create a 4-sided frame to hold the bricks in place. We were able to add a frame using 2x4s supported between the raised beds. The 2x4s were nailed into the raised beds creating a sturdy frame.
- Step 2. Add sand inside your frame to create a level surface to place the bricks. Stamp down the sand. And level out the sand so that the bricks sit a bit higher than your frame. Keep in mind that the sand will settle allowing the bricks to lower flush with the frame.
- Step 3. Add bricks in your preferred pattern. As you're creating the pattern, use a brick chisel and hammer to cut bricks as needed.
- Step 4. After the bricks have been placed, fill in all of the cracks and crevices with additional sand. Sweep the sand into the cracks and crevices using a push broom.
- Step 5. Water the sand in and repeat step 4 adding additional sand as needed until the sand is level with the top of the bricks. The sand is used to create a solid surface holding the bricks together.
Creating a Brick Garden Path: A Few Final Notes
With a little time and a few supplies, you can create a charming brick path for your garden. Plus, it’s the perfect project to tackle this winter before it’s time to begin sowing seeds.
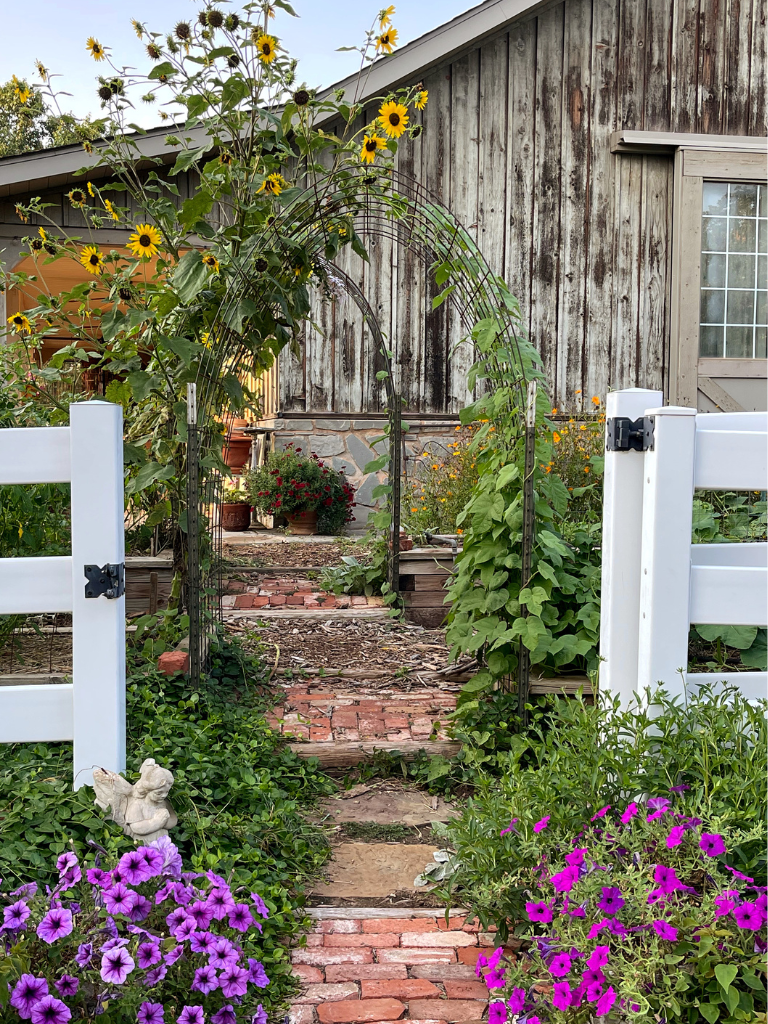
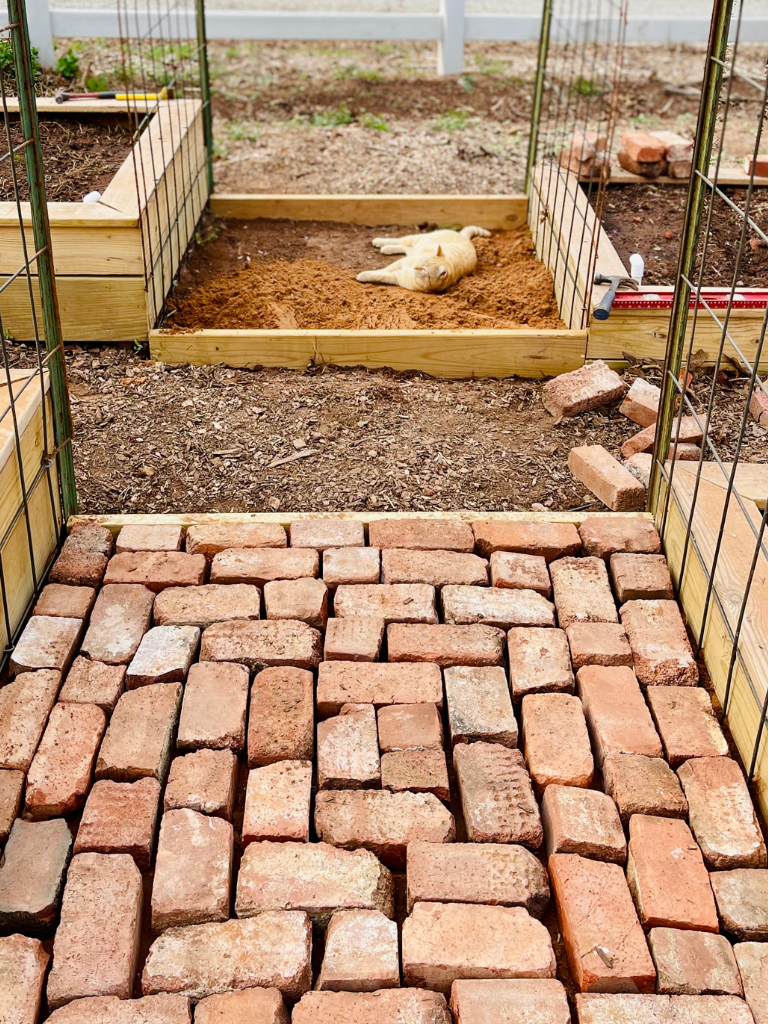
Creating a Brick Pattern
If you examine the pattern below, you will notice there really is no true pattern. Since I was using old brick that was already broken into lots of different sizes, I decided to let the pattern develop as I was laying the brick.
As I placed the bricks, I worked my way from the outside towards the inside of the framed section with the goal of ending in the center of the square. Since the old brick was not uniform in size, I used a chisel and hammer to create bricks to fit the emerging pattern.
In the end, I was happy with the overall look of the bricks. However, if you prefer a more formal pattern, check out these basic patterns for brick paths. There are lots of options available.
Regardless of if you choose or formal or informal pattern, your new brick path will add structure, charm and character to your garden.
Enjoy!
Cheers to Retired Life, and as always, Happy Gardening!
X Penny Pennington Weeks

You may also like…
How to Build Simple Garden Trellises between Raised Beds
10 of the Best Places to Order Seeds Online
The Best Flowers for Beginners and First-Time Flower Growers
Leave a Reply