I’m sharing how to build the best raised garden beds. I say the best because our raised beds are made of pressure treated lumber with a ledge for sitting. Using pressure treated wood means the beds will last for years, and a ledge designed for sitting means they are very practical.
Posts on pennypennington.com may contain affiliate links. Click HERE for full disclosure.
In my opinion there are three primary benefits of raised garden beds:
What are the benefits of raised garden beds?
- First, raised garden beds allow for natural drainage. So, when there is a down pour, excess rain drains out the bottom of the bed and precious plants won’t be waterlogged or suffer from root rot.
- Plants are more easily reached by the gardener since the planting level of the beds is raised up off the ground. And with the added benefit of a ledge for sitting, garden chores like planting and weeding are easier.
- Finally, gardeners can configure raised garden beds to fit any space. The addition of raised beds can add structure to the garden design that is aesthetically pleasing.

A Before and After
Before I jump into the How To of building raised garden beds, I thought you might like to see a few before and after pictures of my cut flower garden.
Pictured below is my first and second cut flower gardens. The first cut flower garden planted directly into the ground and the second planted with the addition of raised garden beds.
Before Adding Raised Garden Beds

When planning my first cut flower garden I wasn’t sure if I would even enjoy flower gardening. So, I decided to keep it simple.
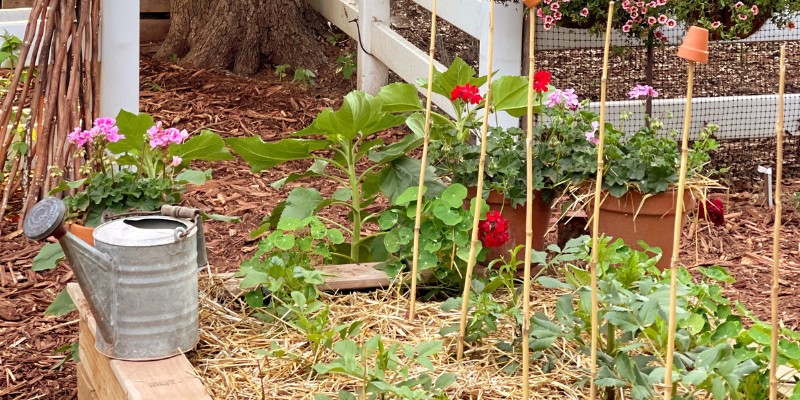
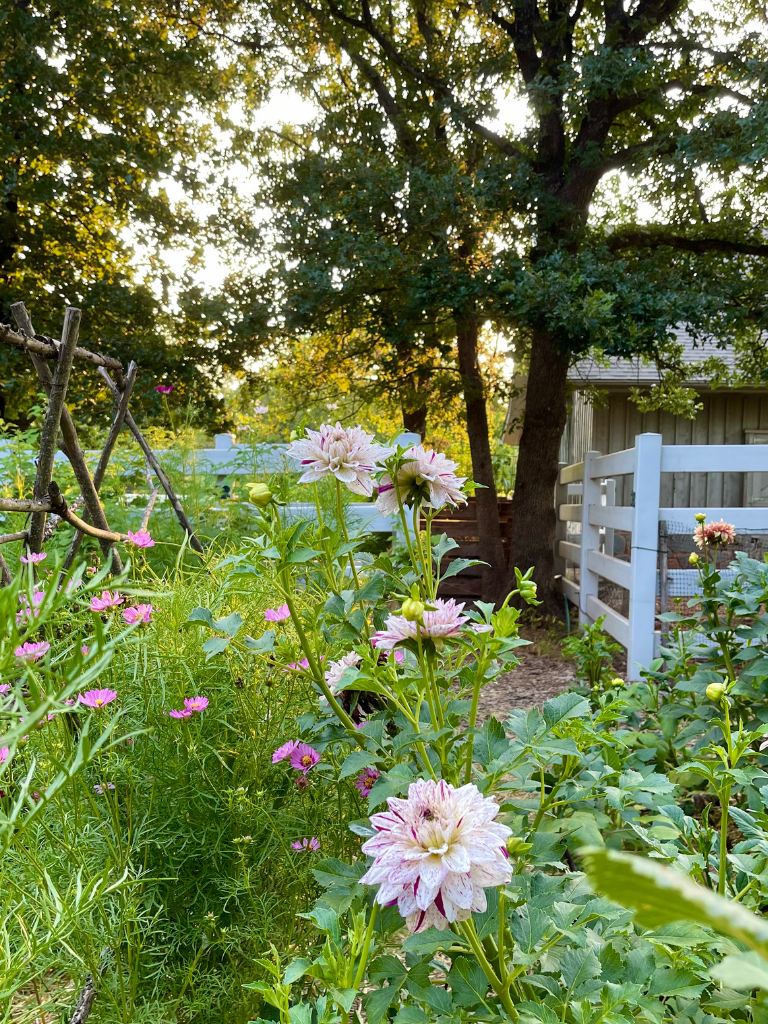
In my first cut flower garden, I tilled up the soil and then used wood chips and straw to delineate paths and planting beds. Next, I planted my seeds and tubers directly into the ground.
I also added a few simple trellises to my first cut flower garden. We have traditionally used these trellises in Bill’s vegetable garden. They’re simple to build, temporary, and charming.

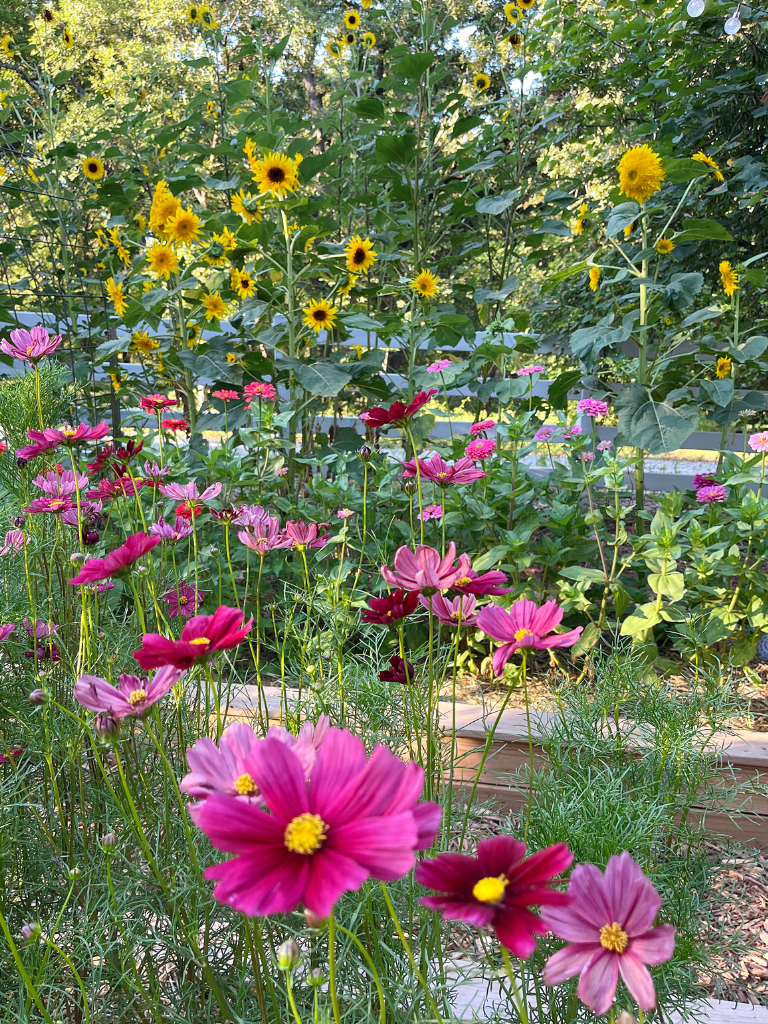
I filled my first cut flower garden with dahlias, cosmos, zinnias and sunflowers. And as soon as they began blooming, I knew I loved flower gardening.
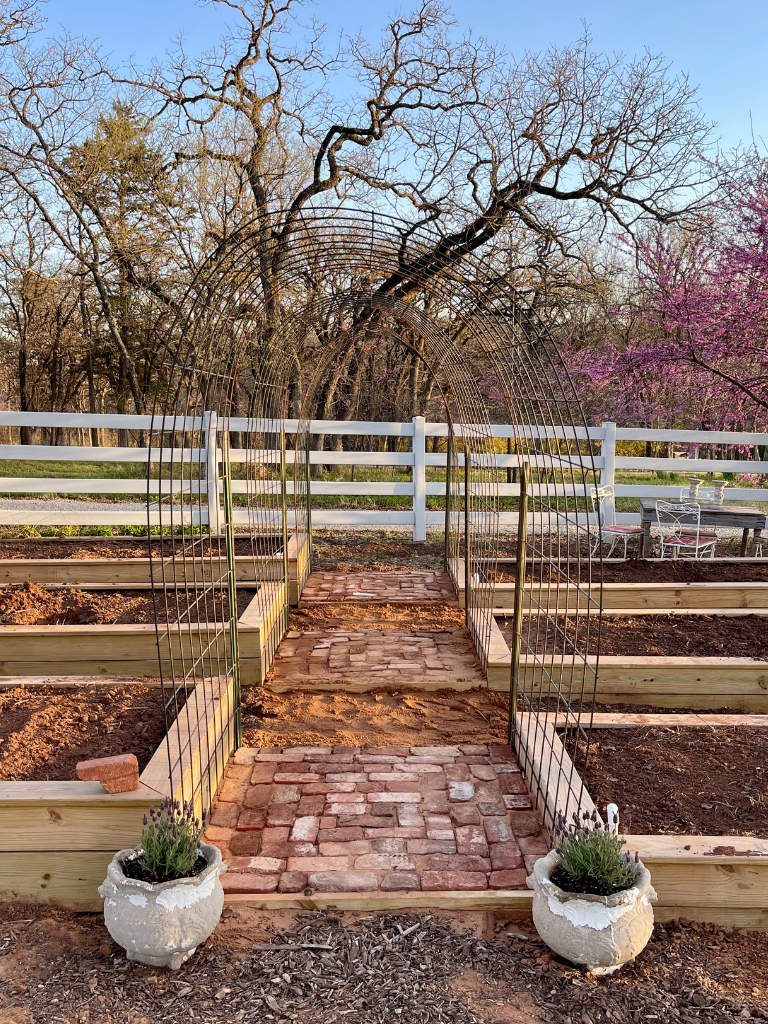
After Adding Raised Garden Beds
As soon as my first season of flower gardening was a wrap, I began drawing up my vision for season 2 of my cut flower garden.
My plan was to add raised garden beds, trellises and a brick path. Bill agreed to take the lead on the build, and we began fine tuning the plans.
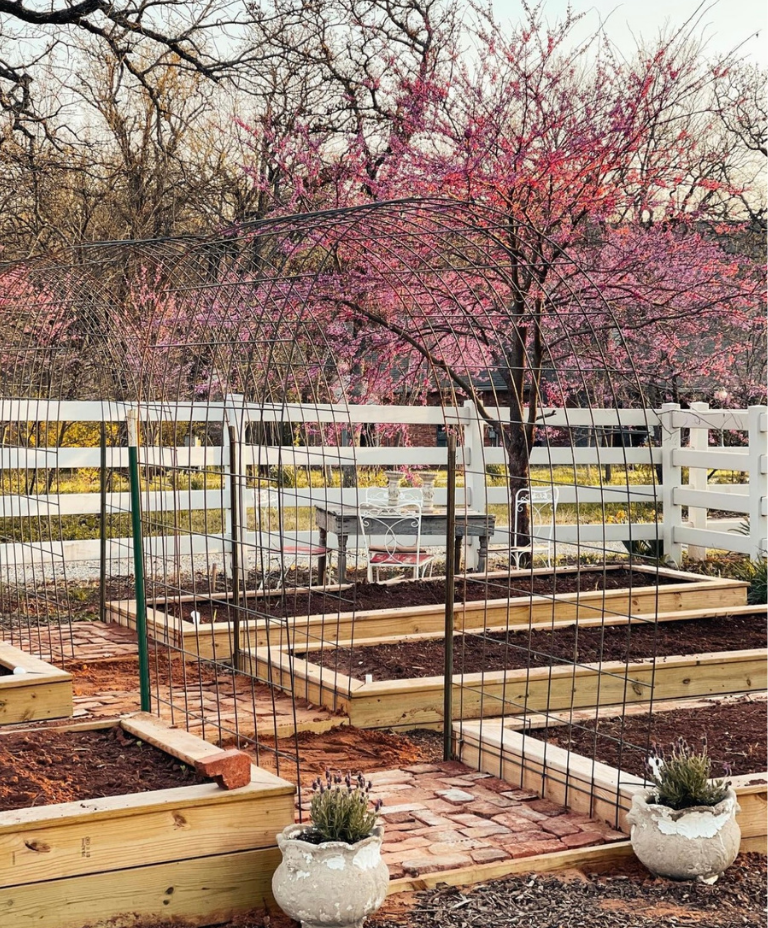
When spring arrived, we had completed six, 4′ x12′, raised garden beds. Next, we added three trellises (learn how to create our trellises here) using galvanized hog panels. And then we laid a brick path underneath each of the trellises (learn how to create our brick path here).

At Bill’s suggestion, we also created bench seating on top of each of the raised beds using decking lumber. The seating makes planting and weeding so much easier.
How to Build Raised Garden Beds
We built our raised garden beds in three primary stages. First, we built the garden boxes. Next, we added a center support to each of the boxes. And finally, we added decking for seating to each of the beds.
Each of our raised garden beds is 4′ x 12′. We intentionally built the boxes only 4 feet in width so that I could reach the middle of each bed from either side.
And since the beds are 12 feet in length, we added a center support to each of the beds to help prevent the wood sides from bowing. Finally, decking for seating is optional but worth the extra time and expense.
Our design included 4′ walking paths where each of the trellises were added and 3′ walking paths between each of the beds lengthwise.
Step by Step Instructions
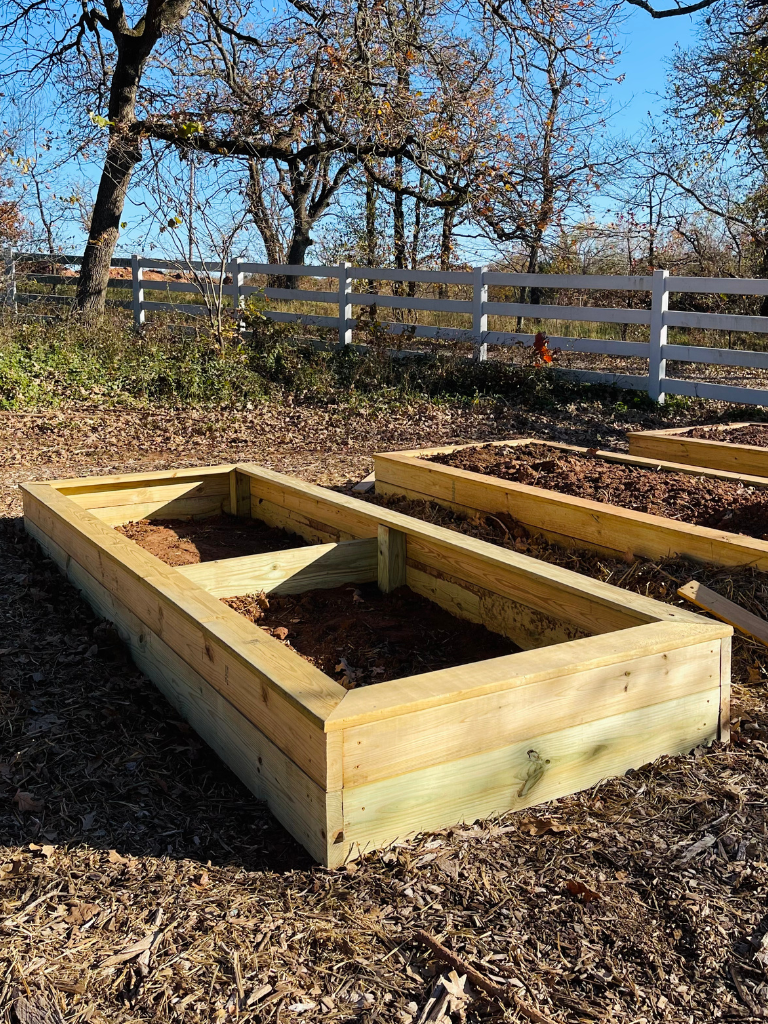
Building the Garden Boxes
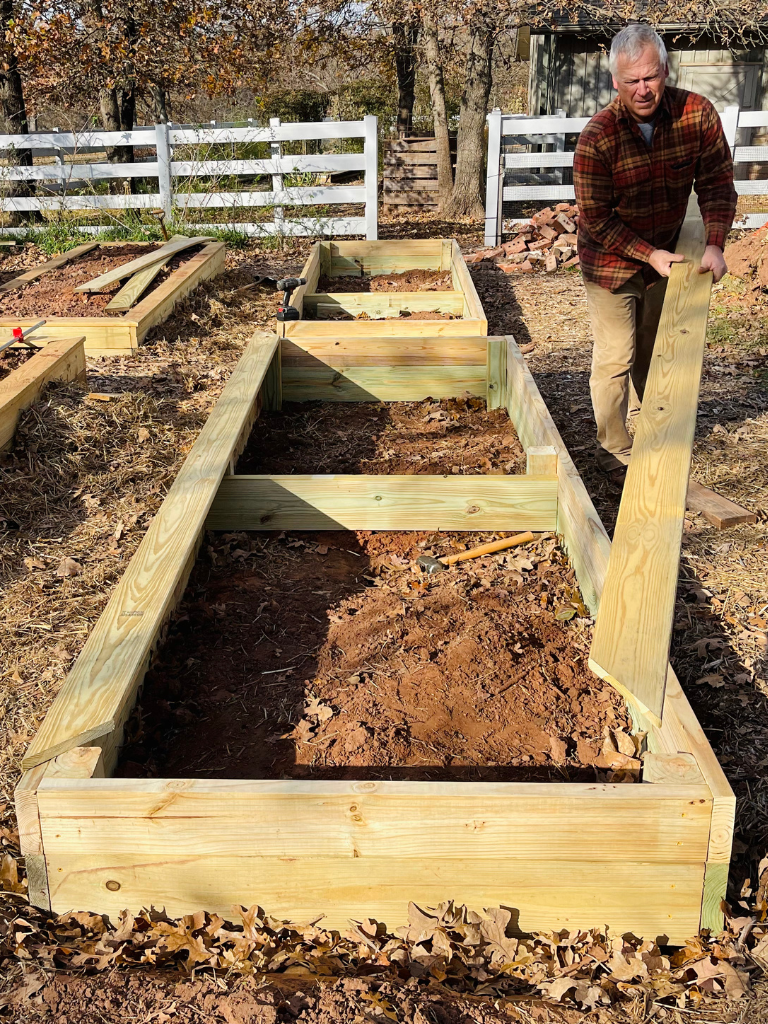
We created a 4′ x 12′ garden box by stacking a 2×8 on top of a 2×10 and securing the sides to 4×4 corner posts to form the perimeter of the box.
- Begin by measuring out the area for your raised garden bed. Dig a 2′ deep hole at each corner for the 4×4 corner posts.
- Cut the posts so that they can be buried about 2′ deep and then pounded flush with the top of the garden box.
- Place the posts in the holes.
- Cut the 2x8s and 2x10s in the desired length. We used 12′ pieces of pressure treated lumber.
- Create the first layer of your garden box with the 2x10s. Add the second layer of your garden box using the 2x8s.
- Use a level as needed and temporarily secure the 2x8s and 2x10s together at each corner.
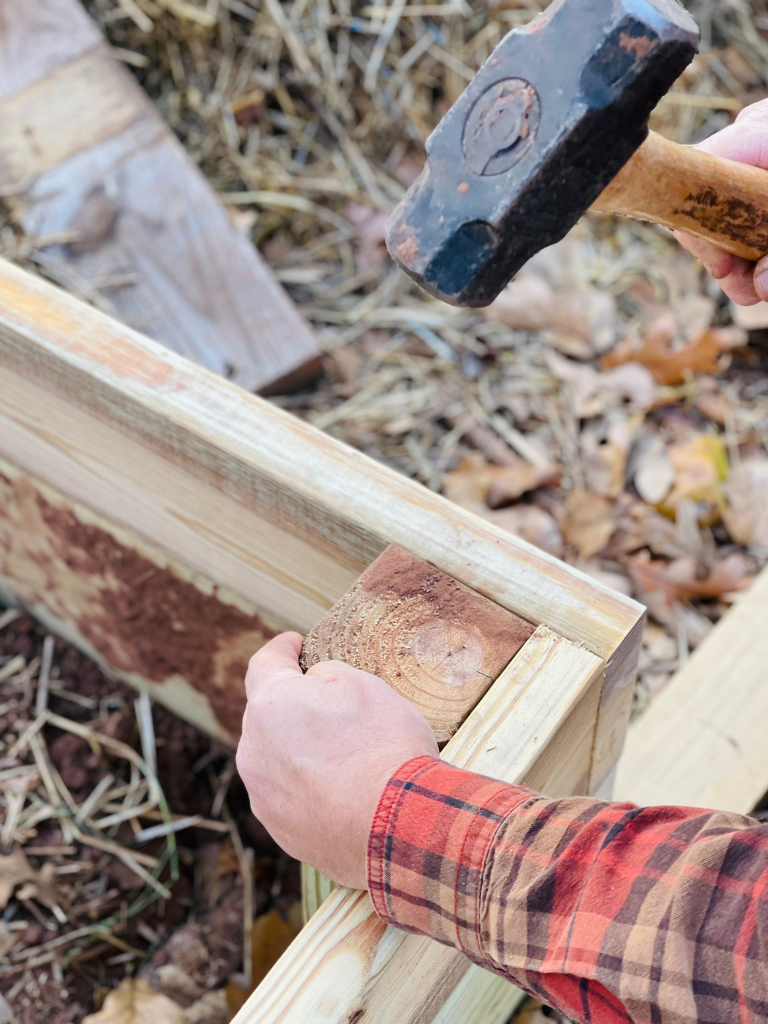
- Pound the corner posts flush to your garden box.
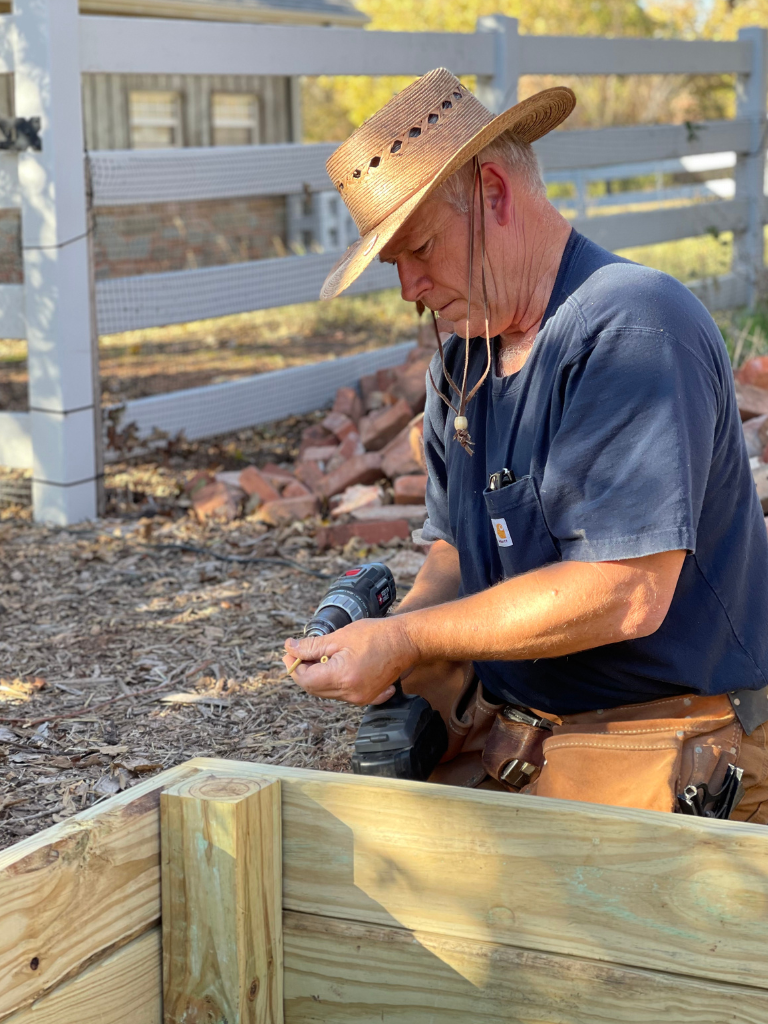
- Using 3″ deck screws, secure the 2x10s and 2x8s to the corner posts. Remove the temporary screws as you secure each corner to the posts.

Adding Center Supports to Boxes
Next add center supports to your garden boxes if they are more than six feet in length using 4×4 posts and a 2×8.
- Dig 2′ deep holes at the center of the garden box on either side and place 4×4 posts in the holes.
- Pound the post flush with the garden box.
- Cut a 2×8 the width of the garden box and place it on the inside of the garden box butted up against the 4×4 posts so that it spans where the 2×8 and 2×10 meet one another.
- Again, using 3″ desk screws, secure the 2×8 to the 4×4 posts and secure the 2×8 from the outside of the garden box.

Adding Decking for Seating
It’s time to add bench seating. These final steps are worth the time and additional effort.
- To add bench seating, begin by cutting 1 1/4 x 6 decking at a 45-degree angle in the desired length.
- Next, lay the decking on top of the garden boxes.
- Finally, using a hammer, secure the decking to the top of the raised beds using 8d galvanized nails.
Materials and Tools Needed
Building raised garden beds requires pressure treated lumber, screws, nails and a handful of tools. The quantity of the materials needed depends on the size of the beds you plan to build.
We used the following materials for the project: pressure treated lumber including 2x10s, 2x8s, 1 1/4 x 6 decking, and 4×4 posts. Plus, we used 3″ deck screws and 8d galvanized nails.
You can calculate the amount of lumber needed after you decide what size to build your raised garden beds. When calculating the amount of lumber, screws and nails needed consider that we used the following to create our beds:
- For each garden box we stacked 2x10s and a 2x8s to create the perimeter. A 4×4 post was then used at each corner. We used the 3″ deck screws to secure the garden box.
- To create the center support, we again used 4×4 posts, one placed in the middle of each box on either side. And then used a 2×10 across the center to create the support.
- And to create seating, we used 1 1/4 x 6 decking around the perimeter of the box and secured it with 8d galvanized nails.

We used the following tools: a circular saw to cut the lumber, a hammer to drive the nails, a cordless drill to drive the screws and a mallet to pound the posts. We also used a tape measure and level.
Printable Instructions
How to Build the Best Raised Garden Beds

We built our raised garden beds in three primary stages. First, we built the garden boxes. Next, we added a center support to each of the boxes. And finally, we added decking for seating to each of the beds.
Each of our raised garden beds is 4' x 12'. We intentionally built the boxes only 4 feet in width so that I could reach the middle of each bed from either side.
And since the beds are 12 feet in length, we added a center support to each of the beds to help prevent the wood sides from bowing. Finally, decking for seating is optional but worth the extra time and expense.
Materials
- Building raised garden beds requires pressure treated lumber, screws, nails and a handful of tools. The quantity of the materials needed depends on the size of the beds you plan to build.
- We used the following materials for the project: pressure treated lumber including 2x10s, 2x8s, 1 1/4 x 6 decking, and 4x4 posts. Plus, we used 3" deck screws and 8d galvanized nails.
- You can calculate the amount of lumber needed after you decide what size to build your raised garden beds. When calculating the amount of lumber, screws and nails needed consider that we used the following to create our beds:
- For each garden box we stacked 2x10s and a 2x8s to create the perimeter. A 4x4 post was then used at each corner. We used the 3" deck screws to secure the garden box.
- To create the center support, we again used 4x4 posts, one placed in the middle of each box on either side. And then used a 2x10 across the center to create the support.
- And to create seating, we used 1 1/4 x 6 decking around the perimeter of the box and secured it with 8d galvanized nails.
Tools
- We used the following tools:
- a circular saw to cut the lumber
- a hammer to drive the nails
- a cordless drill to drive the screws
- a mallet to pound the posts
- a tape measure
- and a level
Instructions
BUILDING THE GARDEN BOXES: We created a 4' x 12' garden box by stacking a 2x8 on top of a 2x10 and securing the sides to 4x4 corner posts to form the perimeter of the box.
- Begin by measuring out the area for your raised garden bed. Dig a 2' deep hole at each corner for the 4x4 corner posts.
- Cut the posts so that they can be buried about 2' deep and then pounded flush with the top of the garden box.
- Place the posts in the holes.
- Cut the 2x8s and 2x10s in the desired length. We used 12' pieces of pressure treated lumber.
- Create the first layer of your garden box with the 2x10s. Add the second layer of your garden box using the 2x8s.
- Use a level as needed and temporarily secure the 2x8s and 2x10s together at each corner.
- Pound the corner posts flush to your garden box.
- Using 3" deck screws, secure the 2x10s and 2x8s to the corner posts. Remove the temporary screws as you secure each corner to the posts.
- ADDING A CENTER SUPPORT: Next add center supports to your garden boxes if they are more than six feet in length using 4x4 posts and a 2x8.
- Dig 2' deep holes at the center of the garden box on either side and place 4x4 posts in the holes.
- Pound the post flush with the garden box.
- Cut a 2x8 the width of the garden box and place it on the inside of the garden box butted up against the 4x4 posts so that it spans where the 2x8 and 2x10 meet one another.
- Again, using 3" desk screws, secure the 2x8 to the 4x4 posts and secure the 2x8 from the outside of the garden box.
- ADDING DECKING FOR SEATING: It's time to add bench seating. These final steps are worth the time and additional effort.
- To add bench seating, begin by cutting 1 1/4 x 6 decking at a 45-degree angle in the desired length.
- Next, lay the decking on top of the garden boxes.
- Finally, using a hammer, secure the decking to the top of the raised beds using 8d galvanized nails.
For weekly garden updates, follow me on Instagram @pennypenningtonweeks. You can also find videos of our flower and vegetable gardens, as well as our garden DIYS.
Cheers to Retired Life, and as always, Happy Gardening!
X Penny Pennington Weeks

You may also like…
How to Build Simple Garden Trellises between Raised Beds
How to Create a Brick Garden Path in 5 Easy Steps
The Best Flowers for Beginners and First Time Flower Growers
Thank you for the information. I love how they turned out. Do you have an estimated cost for the bed? With the increase in lumber prices I’m trying to determine whether to build or purchase the metal Birdie beds.
Thanks for stopping by the blog. I don’t have an estimated cost. It depends on the size of the bed you want to build, how many and current lumber prices. I recommend stopping by your local lumber yard (we used Lowe’s) and checking out prices.
Best wishes!
They look wonderful and I appreciate the clear instructions. How often do you change the soil in a bed? Or do you just add compost each year? And do you rotate what you plant in each bed?
Thank you. We don’t change the soil, but we do add compost annually. Bill rotates some of his vegetable crops, I don’t rotate in the flower garden. My dahlias stay in ground over winter, and I typically plant the other cut flowers based on height (so they end up in the same place each year).
Thanks for stopping by the blog!
Thanks!